Showing posts with label do it yourself. Show all posts

Friday, July 27, 2012

DIYF // Glitter Sknob

In searching for the perfect cabinet knob for one of my projects, I realized there was a niche in the market for glitter knobs! I only saw one and it was purple! I already had all the supplies apart from the knobs.


If DIY isn't the thing for you, check out these fancy knobs!
 

Tuesday, July 26, 2011

Shredinator!

Have I mentioned my new found shredding habit? It's lovely!

Experimenting with printed knits:

Earlier this past weekend, I made this shredded knit shirt (knit tutorial to come!):

It turned out half decent for my first time! Not nearly as rad as these:


(click images for links)
Happy Shredding!

Friday, July 22, 2011

Shred!

I've been on a little bit of a shredding rampage since I saw this little video here

Tuesday, July 19, 2011

Mohawk!

Someone should help me do this to my hair coughmomcough!

Saturday, January 29, 2011

Ice Cleats and a Deal!

I had been searching Amazon for some really good, lace up, no zip combat/military boots. I didn't have any luck until I searched etsy and found these bad boys by RogueRetro(images taken from RogueRetro's listing)

These boots are sweet. I removed the tassel to make them a little more punk rock looking. However, despite aesthetic appeal, these shoes ain't got no "soul" power.

In snow covered Western, PA, every step I took in these boots was a fine waltz between getting to class and falling on my butt.
After telling my good friend, Anna, about my problem she told me that she got Ice Cleats that go on the bottom of any shoe and she could literally run on ice in them. Again I searched Amazon. It was hard to find ice cleats that came for baby-sized feet and were affordable. But one of the pictures on Amazon was basically just chain wrapped around the boot. I knew that was something I could do, and I thought it would make the boots look even tougher than before. So I went to Lowes and spent $5 on three feet of chain and needle nose pliers.

The chain wasn't big or small enough to effectively fit through the shoe lace hole, so I had to rig something with key rings.

I started with the right foot. After I figured out how to do it, it only took a couple of minutes for me to make the left one.

Let me tell you something: best five dollars I ever spent! I walked to campus last night without a single worry of slipping. I did however, break the right cleat when I ran into some friends and was dancing tell them about it... It's fixable!
So, spending only five dollars was a deal, but another sweet deal was that I paid $45 for the boots from RogueRetro when GrannyVintageShoes was selling THE SAME EXACT BOOTS for $15 more. Oh yeah, I was stoked.

Friday, December 17, 2010

A proud moment!

I semi-frequently go to the rummage sale in Pittsburgh. Semi-frequently meaning once a month, or every other weekend, but certainly not two weekend in a row. Well this past weekend was my second consecutive weekend attending. It was the last chance I was going to have before going home for Winter Break.
Anyway, I just love this rummage sale so much, I have been attending it since the summer of 2009, and the little ladies who run it know my face and are always excited to see me. It has everything someone could need (which causes one to wonder why on earth they keep producing so many things). This last trip I spent $15 and I cannot even remember all the items I purchased. But one of the items was a SEVERELY tarnished silver tea pot. So I looked up how to polish it and I stumbled upon an easy home method (it's supposedly eco-friendly, but it wastes quite a bit of water if you want to get technical).

This picture is only a glimpse of the tarnish because I got most of it off half of it and the other half actually had some of the tarnish come off. After three tries, I was amazed.

How did I do it?
The first time, I lined my sink with aluminum foil, silver side up, poured in steaming hot water, and added a substantial amount of baking soda and salt. The pot was not completely covered, which is why there is a distinct line on the first image. I tried adding more hot water and baking soda to the sink, but I supposed the aluminum bond with the chemical in the tarnish and maxed out the chemical equation. So next I lined a pan with aluminum, and did the similar process but on the stove. The heat worked as an amazing catalyst because it did a wonder on the pot, but again, the aluminum maxed out, so I repeated the stove top process. I doubt I will be accumulating any more silver, but now I know what to do with it!

Friday, September 10, 2010

Cherry On Top Award!

I have been chosen by Ciara at A Trickle of Meaning for the Cherry on Top Award! How fun!

Here are the rules:
Say three interesting things about yourself.
Pass the award along to 5 other people.
So then! here we go (I think I am pretty interesting):

1. I had a bike accident when I was thirteen. I was riding bikes with my dad on the side, and went to go down the dip of the side walk to cross the road, my right hand yanked the hande bars, and I flipped over the curb. My dad left me to go get the van to pick me up and take me home. I sat on the side walk crying and letting my imagination get the best of me that the guy in the comcast van was going to kidnap me. I didn't ride a bike again until my senior year of high school. My class had a mandatory bike trip, and despite my objections (and tears, some things really freak me out), I had to go. My dad borrowed a tandem bike and went on the bike trip with me (he also did most of the work, thanks dad!). I now ride my bike everyday. I used to fall pretty often, I have a pretty righteous scar on my knee, but I get back on now.

2. I have been making things since I was five. I used to make clothes for my Magic Attic Club doll using double stick tape because I wasn't allowed to use the sewing machine until I was ten.
3. I have two older brothers and therefore was a major 'tom-boy' growing up. I hated dresses. Somewhere in high school I had a switch. My recent dress count was forty-six, I believe, but I have since given many of those away.
Ok, so I am really not that interesting. On to the award! (in no specific order):

1. My First Award goes to my dear friend Eunice at Sibahle Beads. I met Eunice when I was in Africa for five months. We spend tons of time together, and she uses her blog to continue to raise support for the community she lives in and we worked it.

2. My second award goes to Jaimie at C.R.A.F.T.. She has some seriously cute D.I.Y. tutorials and always fun and inspiring posts!

3. My third Award goes to Stacie at Stars for Streetlights. She lives in New York City and has some seriously awesome D.I.Y. project that are always up to date with latest trends.

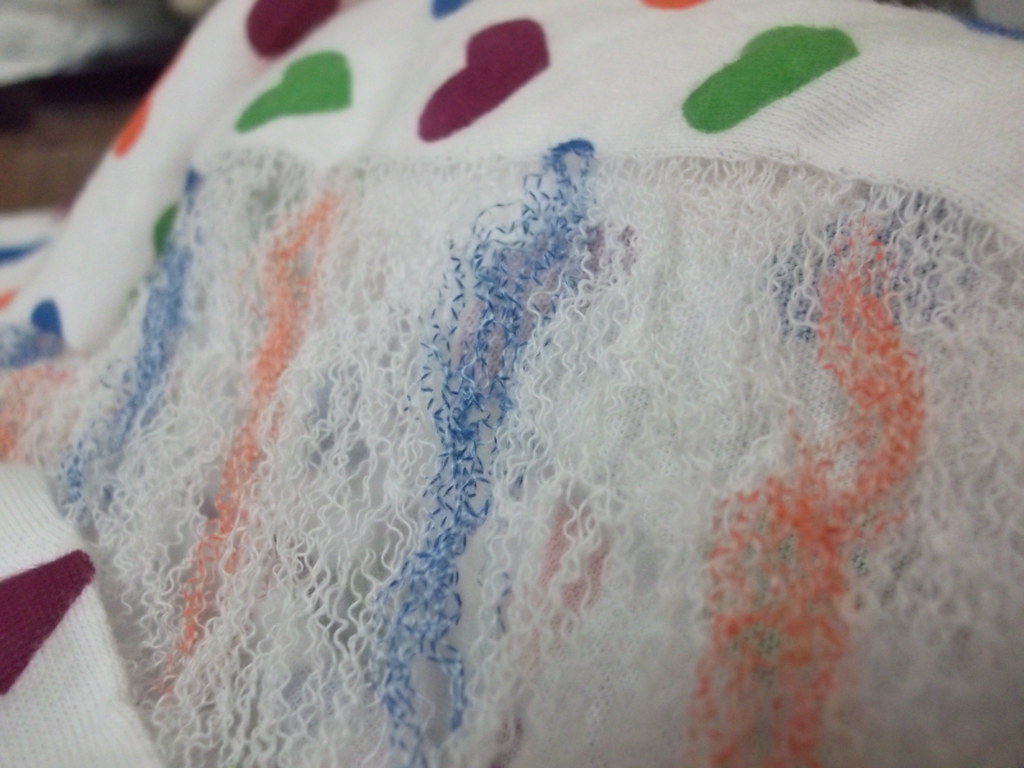
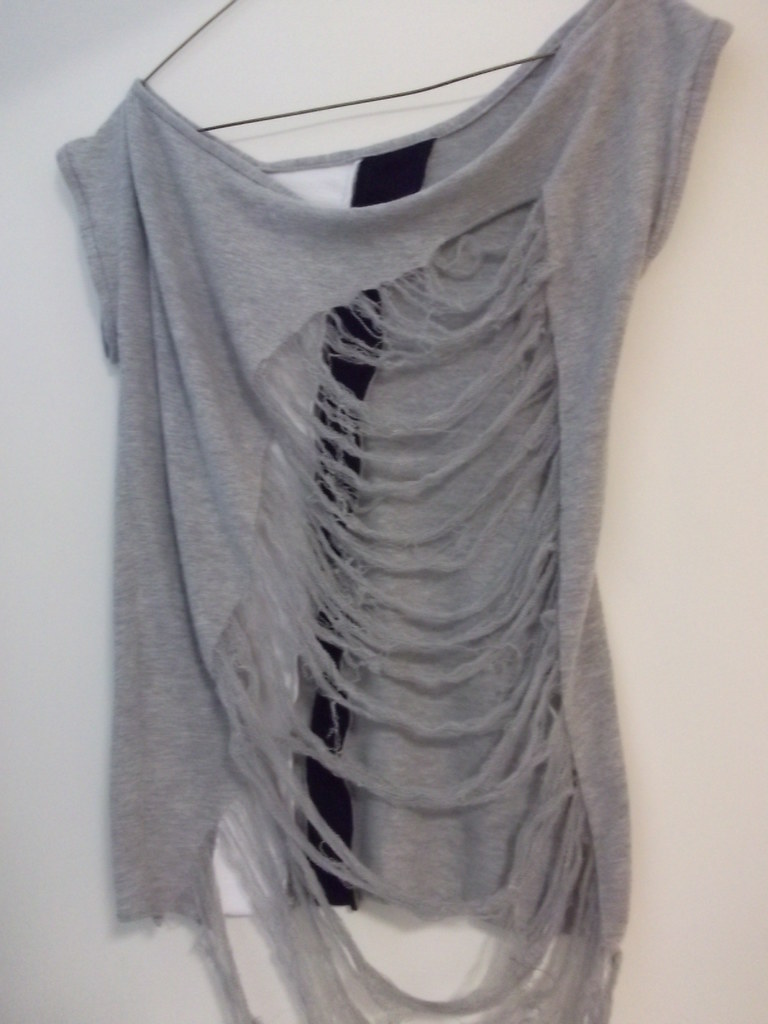
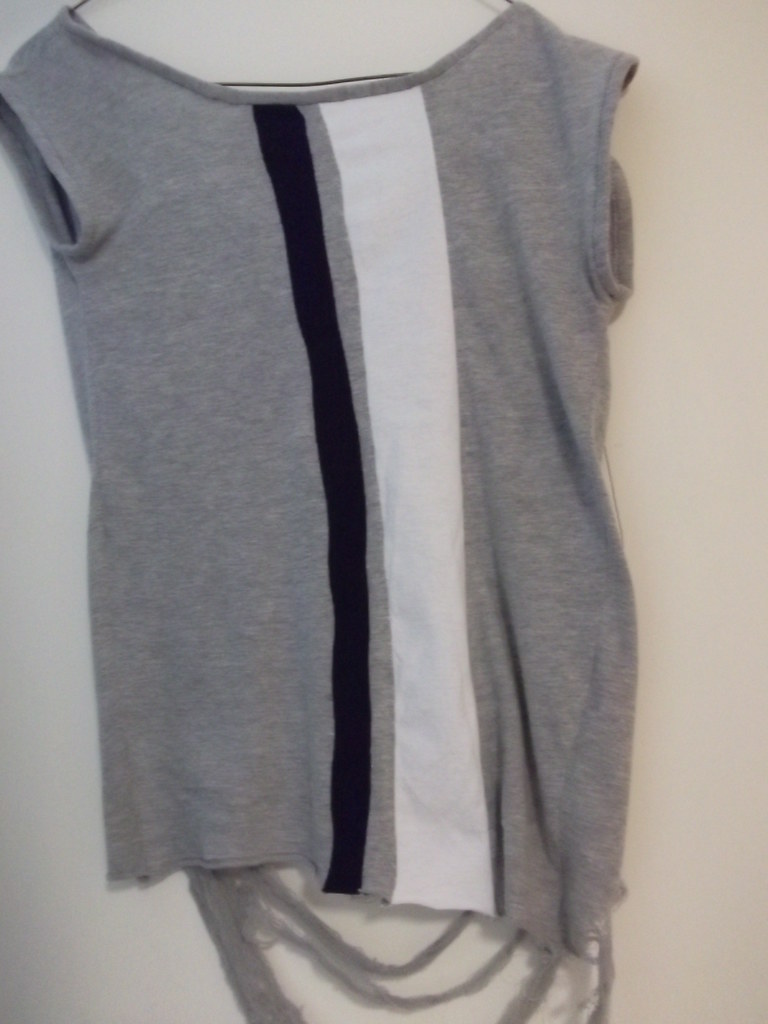
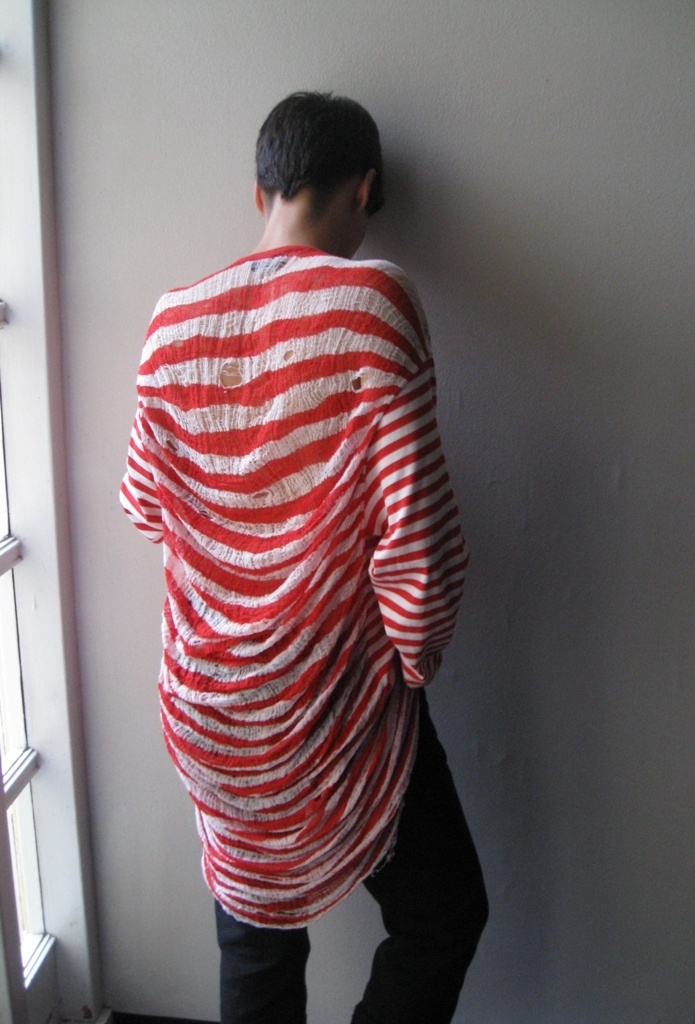
4. My fourth award goes to Outsapop Trashion( I couldn't find her name anywhere). She makes seriously legit DIY projects, the type people look at and are amazed that someone made, like these sweet scarf dresses(note to self- find big scarves pronto, or hey mom- christmas idea, yeah?). She also has a Cut Out + Keep account, which is way cool in my book, and a flickr account. She is just too legit.

5. My final award goes to Jen at I Believe In Love. Jen has a special place in my heart since she was my leader while I was in Africa. But her blog has really awesome recipes, photography, crafts, and so much more. She is a seriously talented blogger and totally deserves the Cherry on Top award.

That concludes my list!

Saturday, March 6, 2010

DIYF: Recycled Magazine Frame

This is late! Sorry!
This is what I made m friends for Christmas! I'll enter real life pictures later.
handmade: Recycled Magazine Picture Frame
Real photo time!

Tear out a page, have some glue ready.

Fold the corner!

fold up an itty bit!

Keep folding!

Turn your folding into a rollin'

Add some glue to hold the paper in place.

Hold while the glue dries

glue a picture to the underside of a shoe box

Hot glue some of the paper rolls to the box!

Trim the edges

Continue glueing! Use the different a collors to create a pattern or something.

Emily's favorite colors are obviously yellow and orange!

The finished product! Woohoo!

Friday, February 26, 2010

DIYF: Sweater Leggings

Thank God It's Do It Yourself Friday!
It is very cold where I live, in fact, it is snowing and they cancelled school- a rare occasion! A couple weeks ago, my good friend Kara showed me a link on how to make sweater leggings. I lost found! the link: Behind the Seams, and I loved the idea! Thrift stores are full of sweaters just begging to be made into cute leggings! So here is my tutorial version. I hope you enjoy and if you make your own, please let me know!

(click the image for a larger view!)
handmade: Sweater Leggings
I cut two inches off the bottom of my shorts and used the excess as a casing.
handmade: Sweater Leggings
The casing in process.
handmade: Sweater Leggings
The finished product!
handmade: Sweater Leggings
A complete outfit!
They are so comfy! I love one of a kind clothing items! Stay crafty!
Related Posts Plugin for WordPress, Blogger...