Thank God it's Do It Yourself Friday! Sometimes, an item just needs a little something to spruce it up. I decided this was the case with the grey
Baggu bag I had gotten in NYC. I originally thought I would put an applique of a radish, but I decided not to put that time into it.
Supplies:
masking tape // ruler // pen // x-acto knife // fabric paint // paint brush
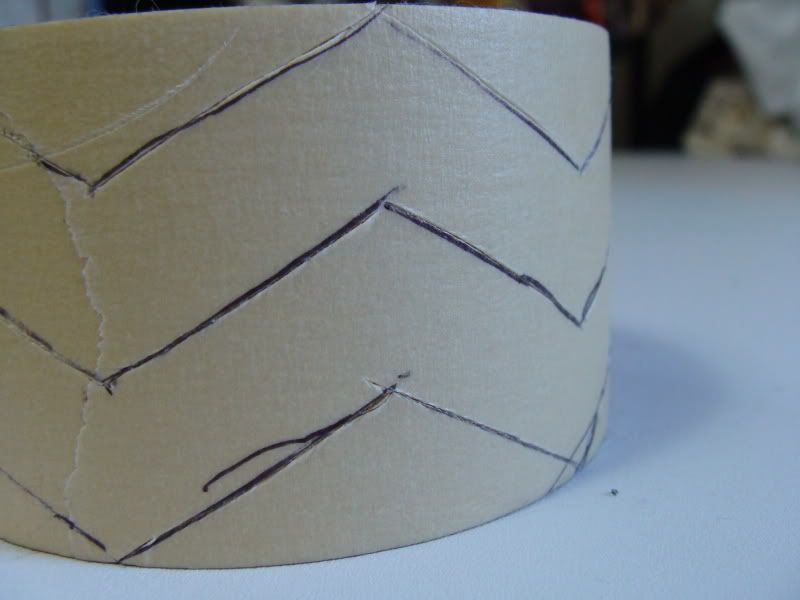
1. Draw zig-zags on the masking tape. I made marks an inch width apart with a half inch height. Then I drew a line from one mark down to the mark diagonal on the row below. Then I used the x-acto knife to cut through the lines made on the masking tape.
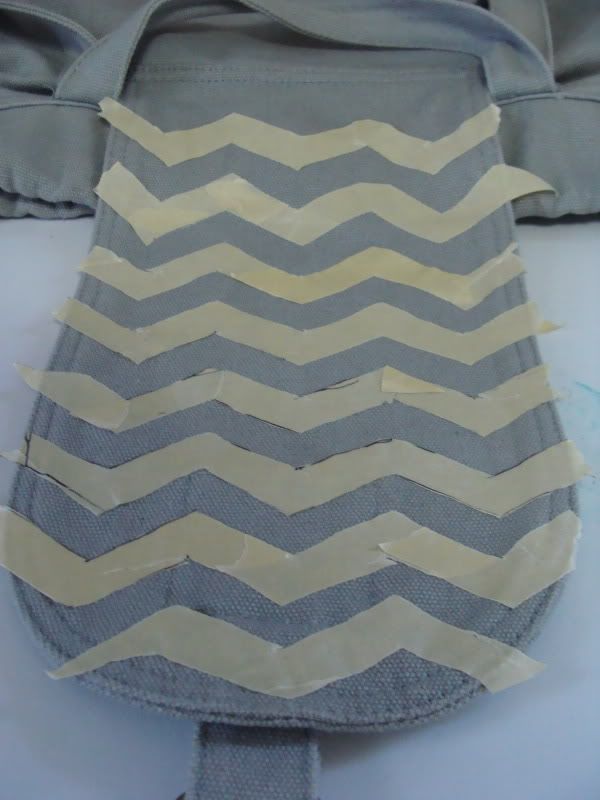
2. Apply masking tape zig-zags to item. I decided to paint the chevron pattern on the flap and pocket.
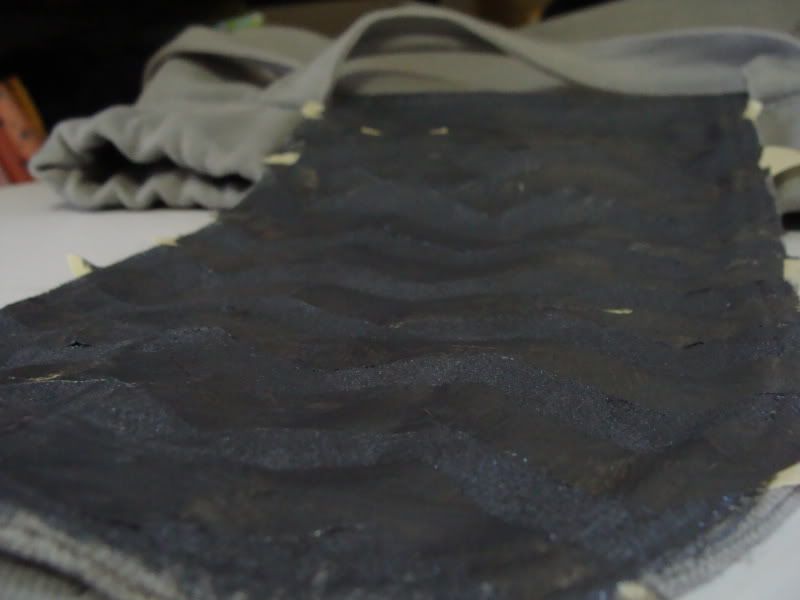
3. Paint! I blended black and pearl screen printing ink for a slightly metallic silver.
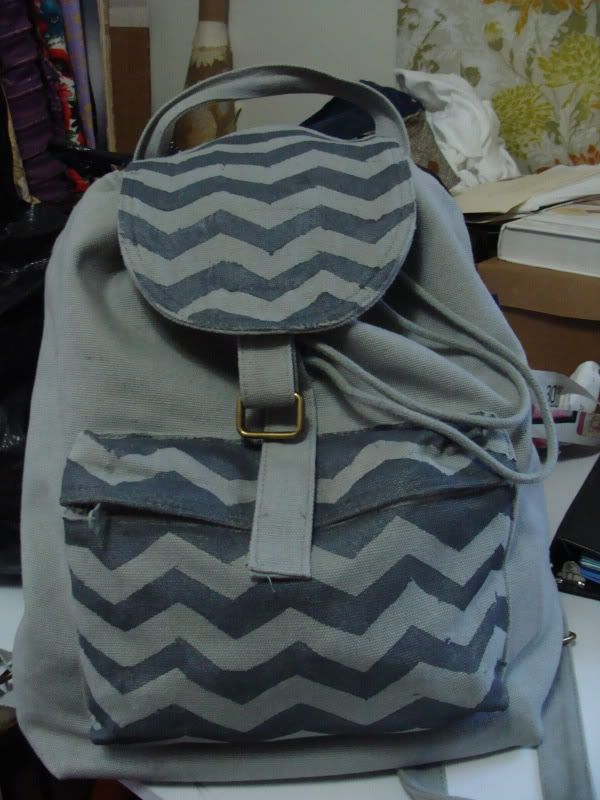
4. Wait for the paint to dry, and peel off the masking tape. Enjoy your new unique bag!

2 comments:
Oh this is so awesome! And the results look great:) what an awesome and simple DIY. I'm always looking for those since I'm not crafty.
Really cool backpack! If I find a good one while thrifting I'll try this project!
Post a Comment